If your WordPress site has lots of content, helping users find exactly what they want is crucial. Adding a SearchFilterSort plugin allows visitors to quickly sort through blog posts, products, listings, or any custom content. This not only enhances user experience but also boosts engagement and increases conversions. In this guide, we’ll walk you through how to add a powerful search filter to your WordPress site step by step.
Why Add a Search Filter to WordPress?
A search filter lets visitors narrow down results by categories, tags, custom fields, or attributes. Without it, users may struggle to find what they need, which can lead to higher bounce rates and lost sales. The benefits include:
- Improved user experience: Visitors find content faster.
- Higher engagement: Users tend to stay longer and explore more pages.
- Boosted conversions: Perfect for WooCommerce stores as users can filter products by price, category, rating, or attributes.
- Better organization: Keep content accessible and structured.
Step 1: Log In to WordPress
Sign in to your WordPress website using your admin username and password.
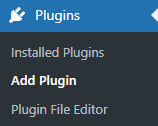
Step 2: Open the Plugins Section
Navigate to Plugins → Add New Plugin from the left-hand menu.
Step 3: Upload the Plugin File
Click on the “Upload Plugin” button and upload the SearchFilterSort plugin ZIP file using the upload field.

Step 4: Install the Plugin
Click Install Now and wait while WordPress installs the plugin.
Step 5: Activate the Plugin
After installation is complete, click Activate Plugin to turn it on.

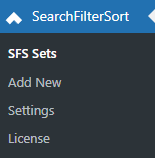
Step 6: Open SearchFilterSort
Once activated, you will see a new menu called SearchFilterSort in your WordPress dashboard.
Step 7: Create a New Filter Set
Go to:
Navigate to: SearchFilterSort → SFS Sets → Add New
This is where you will create your filter setup.
Step 8: Add a Name for Your Filter Set
Enter a name that helps you identify it later, such as:
- News Search
- Blog Filter
- Product Filter
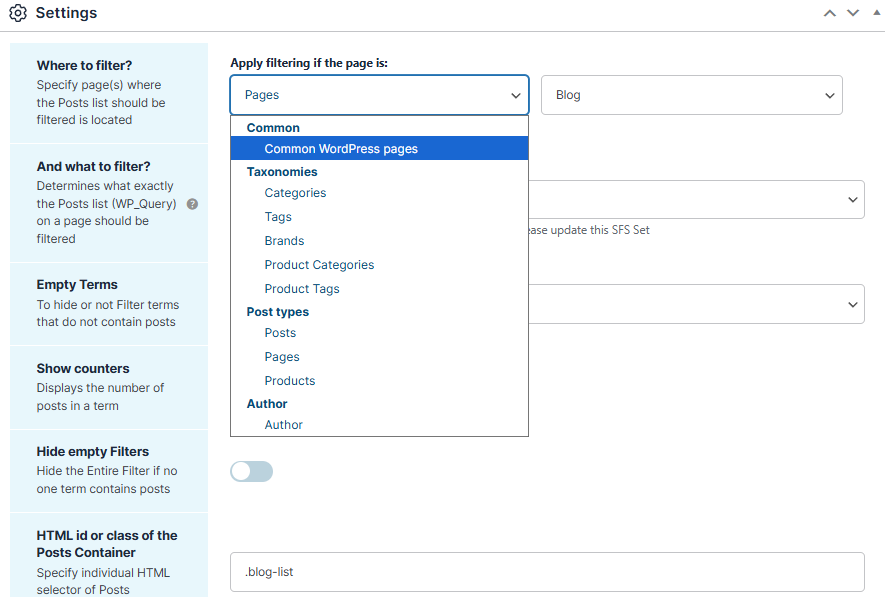
Step 9: Choose What You Want to Filter
Select the type of content you want visitors to search and filter.
- Posts
- Pages
- Products (WooCommerce)
- Custom Post Types
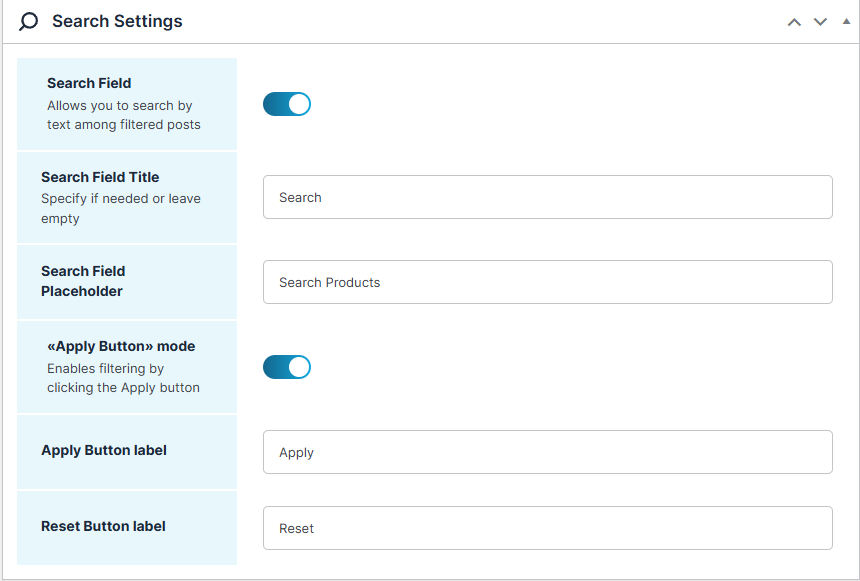
Step 10: Turn On the Search Box
Enable the Search Field option to add a search box for your visitors.
Step 11: Customize the Search Box
Set up how the search box will appear.
You can add:
- Title (e.g., Search)
- Placeholder (e.g., Search…)
Step 12: Enable the Apply Button
Turn this option on if you want visitors to click a button after selecting filters.
Step 13: Customize Button Text
You can change the text shown on the buttons.
Examples:
- Apply Button label
- Reset Button label
Step 14: Open Filter Settings
Scroll down to the Filter Settings section.
Step 15: Add Your Filters
Select the filter options you want visitors to use.
Popular choices include:
- Categories
- Tags
- Custom Taxonomies
- Product Attributes (WooCommerce)
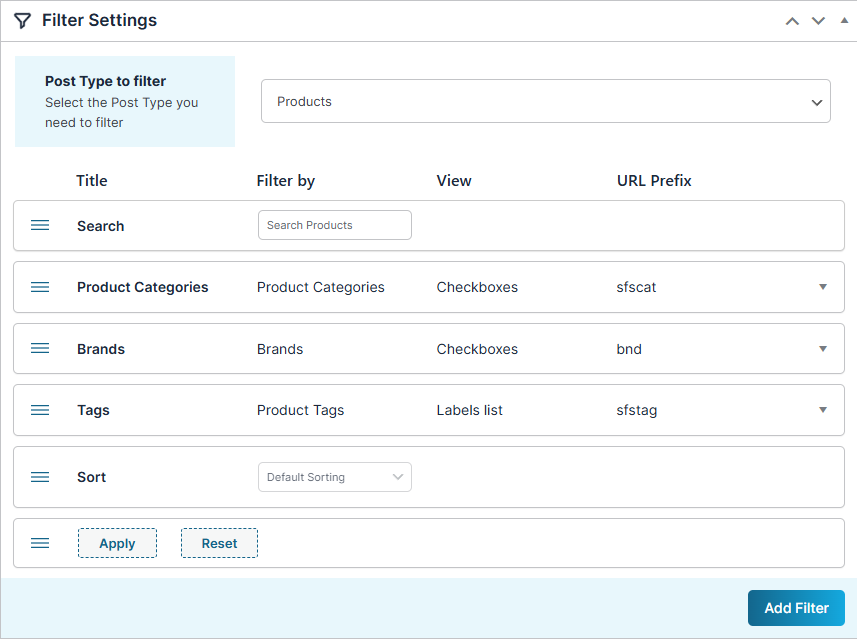
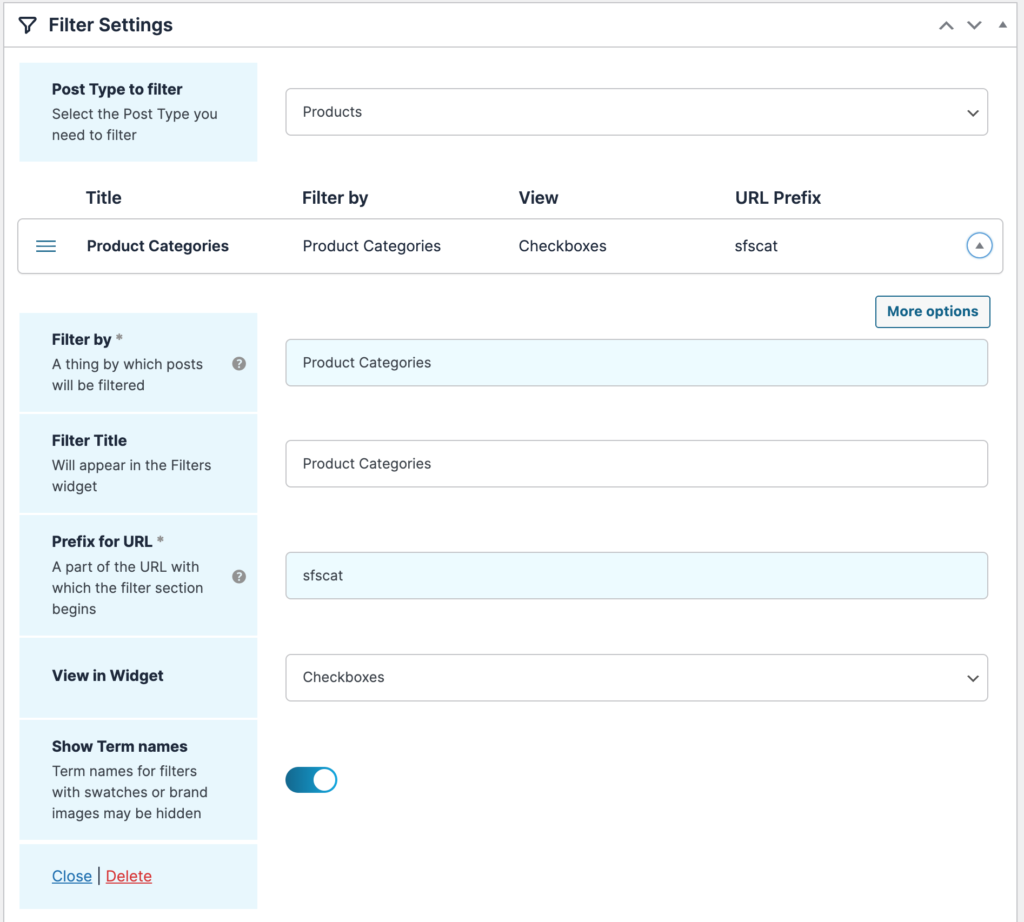
Step 16: Choose How Filters Look
Decide how visitors will interact with the filters.
Options include:
- Checkbox – Select multiple options
- Dropdown Menu – Select from a list
- Labels/Buttons – Clickable filter buttons
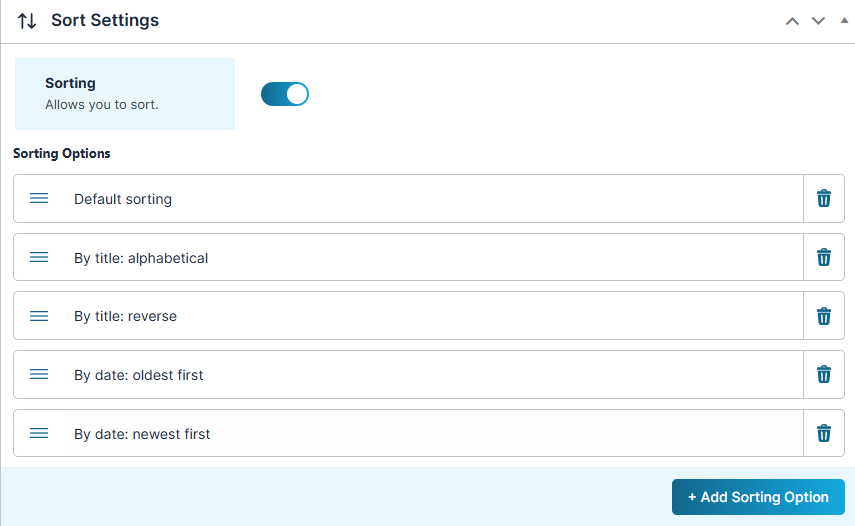
Step 17: Turn On Sorting
Enable sorting if you want visitors to organize results in different ways.
Step 18: Add Sorting Options
Add sorting options such as:
- Date (Newest / Oldest)
- Title (A–Z / Z–A)
- Price (Low to High / High to Low)
- Rating (WooCommerce)
Step 19: Save Your Filter Set
Click the Publish button to save everything.
Step 20: Copy the Shortcode
After saving, copy the shortcode generated by the plugin.
This shortcode is used to display your filters.
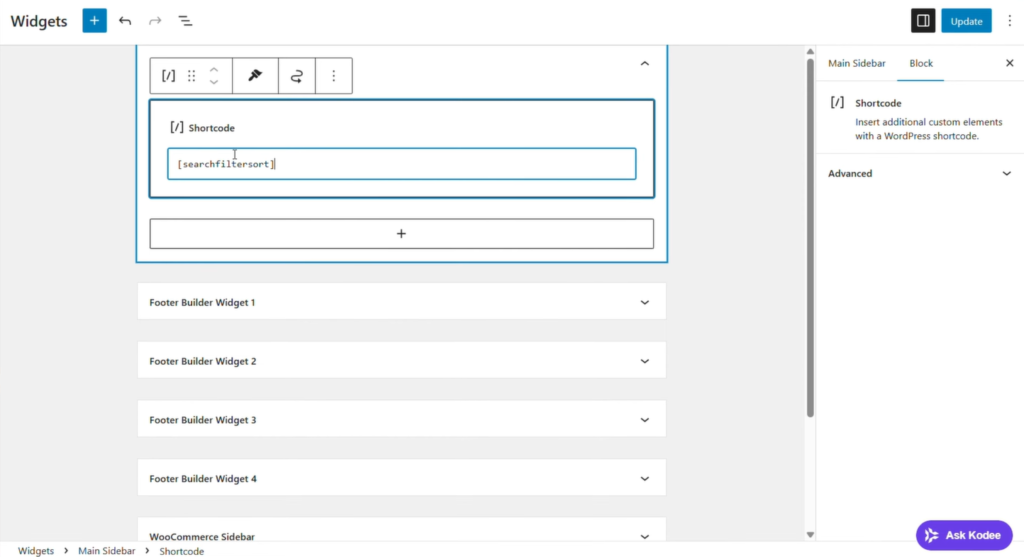
Step 21: Add Filters to Your Website
Paste the shortcode into the page, post, or widget area where you want the filters to appear.
For example:
- Blog Page
- Shop Page
- Sidebar widget
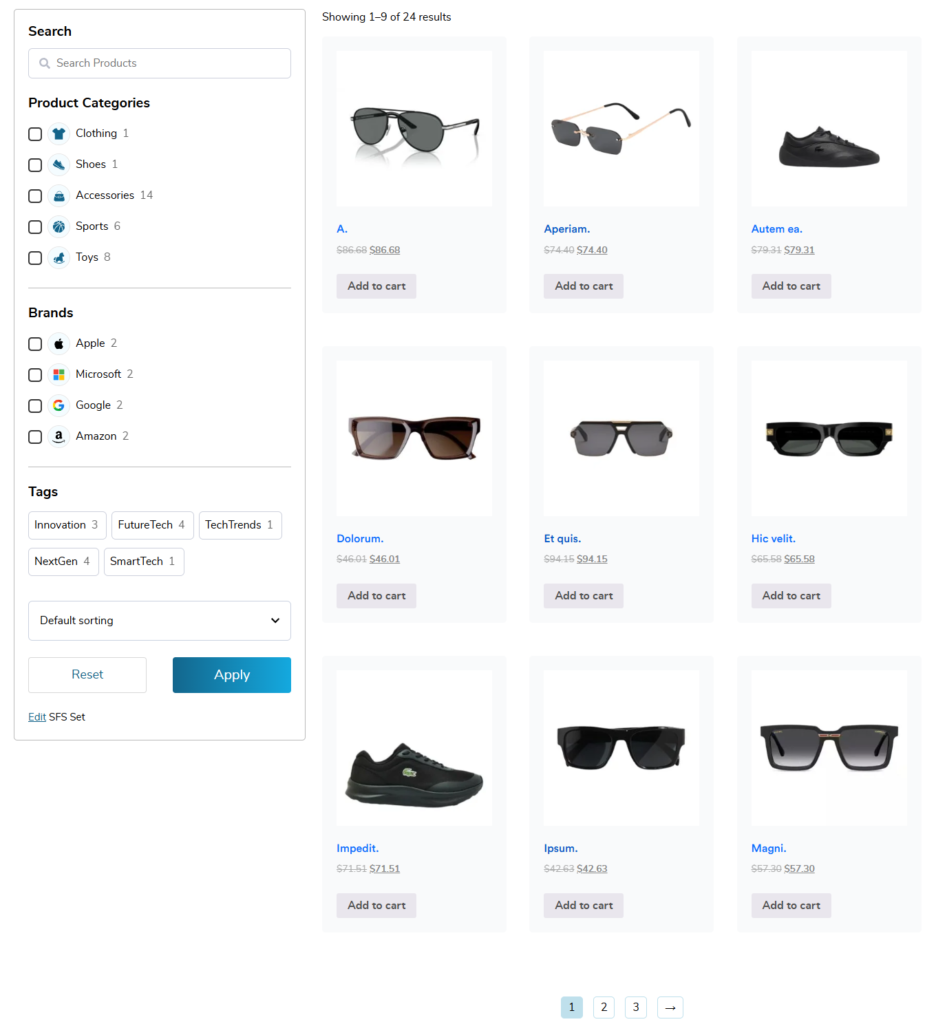
Step 22: Check Your Filters Live
Open your page on the front end of your website.
Test the search and filter options to make sure everything works correctly.
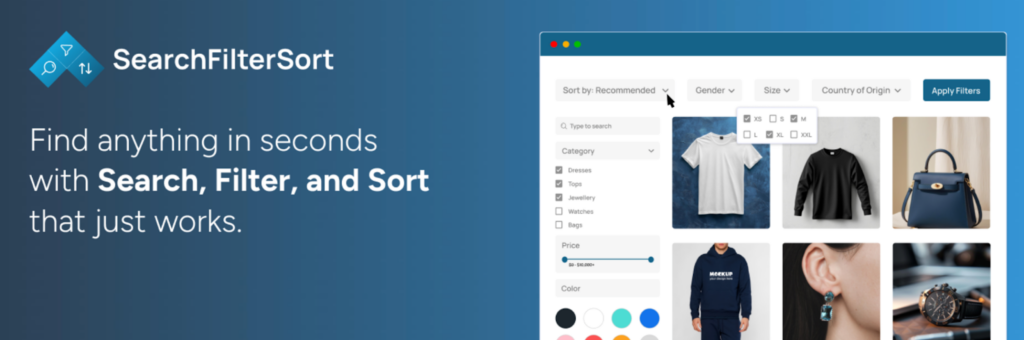
How to Use SearchFilterSort Effectively?
To get the most value out of the SearchFilterSort plugin, it’s important to design them with users in mind. A well-structured filter setup makes navigation effortless and keeps visitors engaged longer. Here are a few best practices to follow:
- Keep filters simple and relevant: Avoid overwhelming users with too many options. Focus on the filters users are most likely to use, such as categories, price, or tags.
- Place filters where users expect them: Sidebars or above-content filter bars work best for blogs and WooCommerce stores.
- Combine filters with sorting options: Let users not only filter results but also sort them by price, date, rating, or relevance for better content discovery.
- Test regularly as content grows: As you add more posts or products, revisit your filter setup to ensure it remains useful and efficient.
Using SearchFilterSort, you can easily adjust filters and layouts anytime without touching code.
Conclusion
Adding a search filter to your WordPress site is easier than you think. And, it makes a huge difference in usability and conversions. With the SearchFilterSort for WordPress and WooCommerce, you can create a powerful, AJAX-powered search and filtering system in minutes.
Ready to improve your site’s search experience?
FAQs
Can I use SearchFilterSort on WooCommerce stores?
Yes, SearchFilterSort works seamlessly with WooCommerce and allows you to filter and sort products by category, price, tags, and more.

