As your WordPress blog grows, organizing content becomes just as important as creating it. Because when visitors can’t easily find relevant posts, they’re more likely to leave. And, this can happen even if your content is valuable. Adding filters to your blog posts helps users quickly narrow down content and improves overall site navigation.
Using the SearchFilterSort plugin for WordPress and WooCommerce, you can organize blog posts by categories, tags, and more. That too, without writing any code. In this guide, we’ll walk you through how to use filters to organize your blog posts step by step.
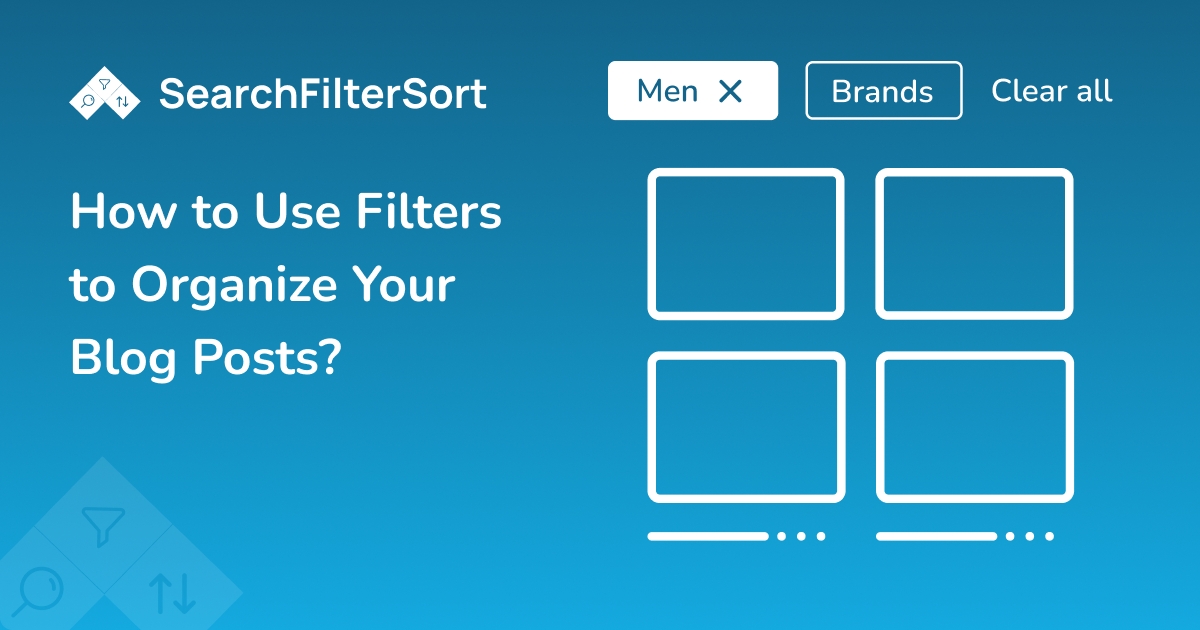
Using Filters to Organize Blog Posts
Blog post filters allow readers to explore content based on their interests instead of scrolling endlessly. Here are the benefits of using filters on blog posts:
- Improved user experience: Readers find relevant posts faster.
- Higher engagement: Users stay longer and read more articles.
- Better content organization: Large blogs remain easy to navigate.
- Lower bounce rates: Visitors discover more related content.
- Cleaner layouts: Filters reduce clutter without changing design.
Filters are especially useful for content-heavy WordPress sites such as tutorials, magazines, news blogs, and multi-author websites.
Step 1: Choose the Right Plugin
The easiest way to add filters to blog posts is by using a dedicated plugin. We recommend SearchFilterSort for WordPress and WooCommerce. It allows you to:
- Filter blog posts by categories, tags and formats.
- Use AJAX-powered filtering for instant results.
- Add unlimited filters and sorting options.
- Work seamlessly with any WordPress theme.
- Use the native WordPress UI for easy setup.
Step 2: Install & Activate SearchFilterSort
- Log in to your WordPress admin dashboard.
- Go to Plugins > Add New.
- Search for SearchFilterSort plugin.
- Click Install Now and Activate the plugin.
Once activated, you’ll see a new SearchFilterSort menu in your dashboard.
Step 3: Create Filters for Blog Posts
- Go to SearchFilterSort > Settings from your WordPress admin dashboard.
- Under General Settings, select Post as the post type and choose the taxonomy (Category, Tag, or Format).
- Enable the Category Filter, set the number of posts per page, and add a Sort Dropdown (date, title, etc.).
- Open Layout Settings and choose the number of columns, pagination type, and filter position.
- Go to Action Button Settings and select the button type, label, and alignment.
- Click Save Changes to apply the filter settings.
Step 4: Add the Filter to Your Blog Page
You can display your blog filters anywhere using shortcodes.

- Copy the shortcode generated in SearchFilterSort.
- Paste it into:
- Your blog page
- A post
- A widget or sidebar
The filters will instantly appear on the front end of your website.
Step 5: Test and Optimize
After adding filters to your blog posts:
- Test filters on desktop, tablet, and mobile devices.
- Try multiple filter combinations to ensure accuracy.
- Adjust layout or filter options to match your theme.
- Confirm results update smoothly when filters are applied.

SearchFilterSort updates results instantly, helping readers explore content without interruption.
How to Use SearchFilterSort Effectively for Blog Posts
With SearchFilterSort, you can easily adjust filters and layouts anytime. That too, without any coding. As your blog grows and content evolves, you can quickly adapt your filter setup to match new categories, tags, or reader behavior. To get the most value from this plugin when organizing blog posts, follow these best practices:
- Keep filters relevant: Use only the most useful filters like categories and tags.
- Avoid clutter: Too many options can overwhelm readers.
- Place filters strategically: Sidebars or above blog listings work best.
- Combine filters with sorting: Let readers sort posts by date or relevance.
- Review filters regularly: Update them as your blog content grows.
Conclusion
Using filters to organize your blog posts makes your WordPress site:
- easier to navigate
- engaging
- user-friendly
With SearchFilterSort for WordPress and WooCommerce, you can create powerful blog filters in minutes and help readers find the content they care about most. Whether you manage a small blog or a large content library, SearchFilterSort gives you full control over how your posts are organized and displayed.
FAQs
1. Can I use SearchFilterSort for blog posts only?
Yes, you can select Post as the post type and create filters specifically for blog posts.
2. Can I filter posts by categories and tags?
Yes, SearchFilterSort supports filtering by WordPress categories, tags, and post formats.
3. Do I need coding skills to add blog filters?
No, the plugin uses the native WordPress UI and requires no coding knowledge.
4. Can I customize the filter layout?
Yes, you can control columns, pagination, filter position, and button behavior.
5. Where can I download SearchFilterSort?
You can install it directly from the WordPress Plugin Directory: SearchFilterSort.

